Welcome to the Instrument Update for Mac Users
This feature works best with Mac’s default Safari browsers.
Software updates can be downloaded for your Rhythmedics Instrument from this webpage.
Additional and Custom Wellness Preset Programs for purchase are available here.
The links below are for compressed .ZIP folder that are to be downloaded to your Mac’s desktop and each folder contains the two part ‘A’ and ‘B’ update files along with the latest User Guide and Update Instructions in PDF formats.
Clarius Update File Ver. 3.3 for Mac Users with 8 presets CLICK THE LINK TO DOWNLOAD AND COPY TO RHYTHMEDICS FLASH-DRIVE AS EXPLAINED BELOW
Somnius Update File Ver. 3.1 for Mac Users with 8 presets CLICK THE LINK TO DOWNLOAD AND COPY TO RHYTHMEDICS FLASH-DRIVE AS EXPLAINED BELOW
Tesla Jewels Update File Ver. 2.11 for Mac Users with 8 presets CLICK THE LINK TO DOWNLOAD AND COPY TO RHYTHMEDICS FLASH-DRIVE AS EXPLAINED BELOW
Pendulum Plus Update File Ver. 6.1 for Mac Users CLICK THE LINK TO DOWNLOAD AND COPY TO RHYTHMEDICS FLASH-DRIVE AS EXPLAINED BELOW
Metronome Professional Update File Ver. 4.7 CLICK THE LINK TO DOWNLOAD AND COPY TO RHYTHMEDICS FLASH-DRIVE AS EXPLAINED BELOW
The following update procedures are common to all Rhythmedics instruments using a Mac to perform the update.
Rhythmedics Update Procedure using a Mac
Updates using a Mac require two files to be copied to your instrument as explained below. Update files are not executable on your Mac; they are intended only to be copied to the Rhythmedics flash-drive on your instrument, which will then internally complete the update.
Program updates have a .RMD filename extension and can only be applied to the specific instrument type for which it was developed. Updates are available above. After clicking on an update link above a folder containing the two update files (parts A and B) will appear in the Downloads folder on your Mac.
To copy the A and B update files to your instrument follow these steps:
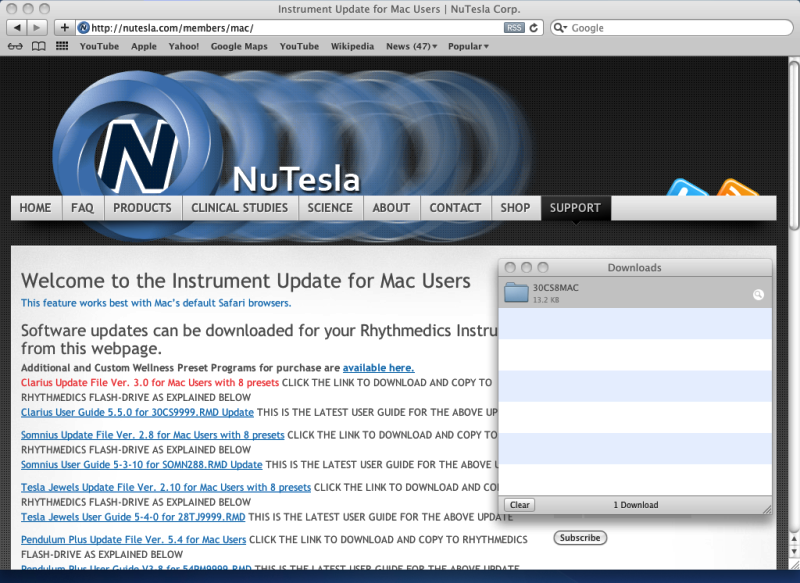
- Use Safari, the default internet browser for Mac, to download the compressed file. Click on the appropriate link on the Mac User webpage to download desired update files. Verify the two parts are in your Downloads folder as shown below
- Insert the Mini-B connector of the USB programming cable supplied with your Rhythmedics instrument into the instrument’s receptacle before inserting the other end into your Mac
- Insert the larger flat USB A connector end of the USB programming cable into an active USB port directly on your Mac. Do not connect through an external USB hub
- If your instrument is battery powered it should be started by pressing the START dome switch
- After seeing the instrument is running by viewing the Spectrum LED (SLED) on the instrument is flashing, firmly press and hold the SETUP or START dome switch until the SLED begins flashing Green on and off, then release the dome switch
- If the SLED does not turn on, ensure the USB cable is properly inserted into your Mac and the USB port is enabled on your computer via your device or driver manager program
- If the SLED flashes red and green this is an indication your Mac is installing the USB flash-drive, which is normal. Wait for the drive to be installed as indicated by the SLED changing to Green only flashing on and off
- If the SLED flashes Red or Yellow on and off, skip to step 14 below to follow the directions to remove the previously failed update files
- If the SLED flashes blue on and off remove the USB A connector from the Mac and go back to step 3 above, being sure not to press any switches on your instrument while inserting the USB cable
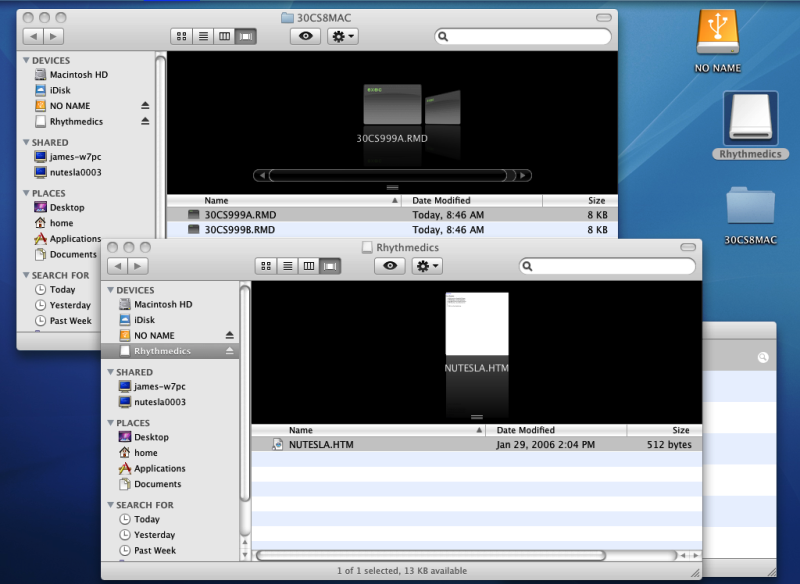
- With the SLED flashing Green on and off a drive named “Rhythmedics” should appear on your Mac’s desktop as shown below. You must locate the Rhythmedics drive in order to continue the update
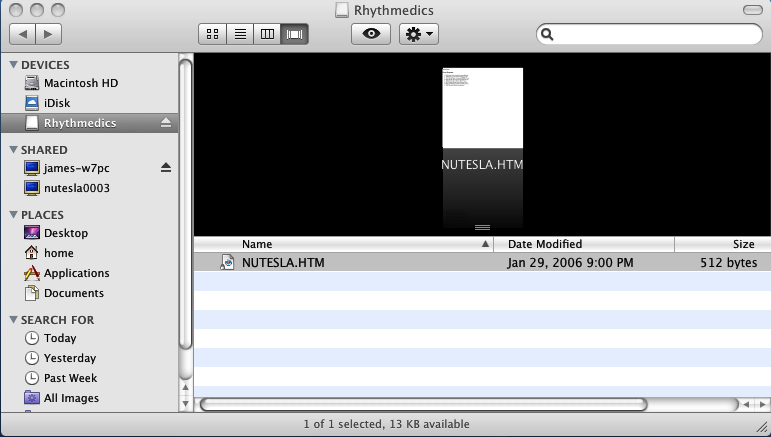
- Open the Rhythmedics drive to view its contents. You should see only one file named “NUTESLA.HTM” as shown below
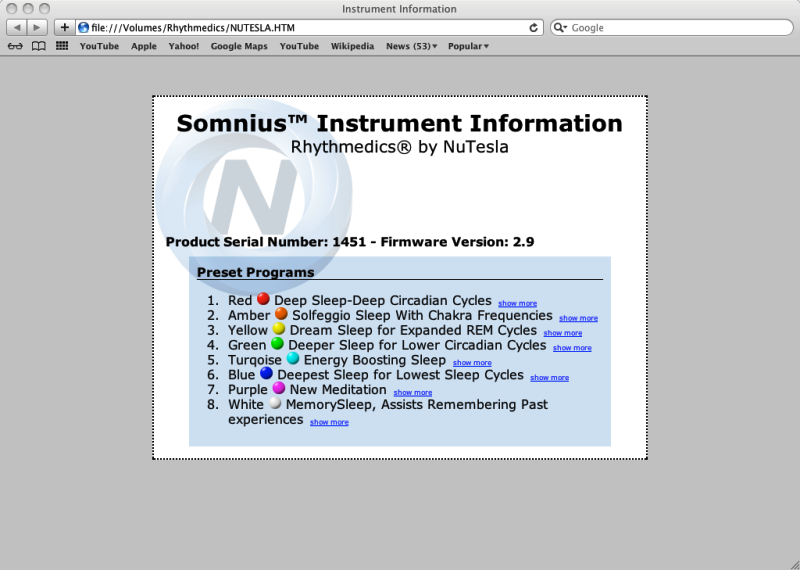
- This file can be opened with the Safari browser to list all installed preset programs, and display the instrument’s serial number and current firmware version as shown below. Close the Instrument Information window if opened before continuing with the update
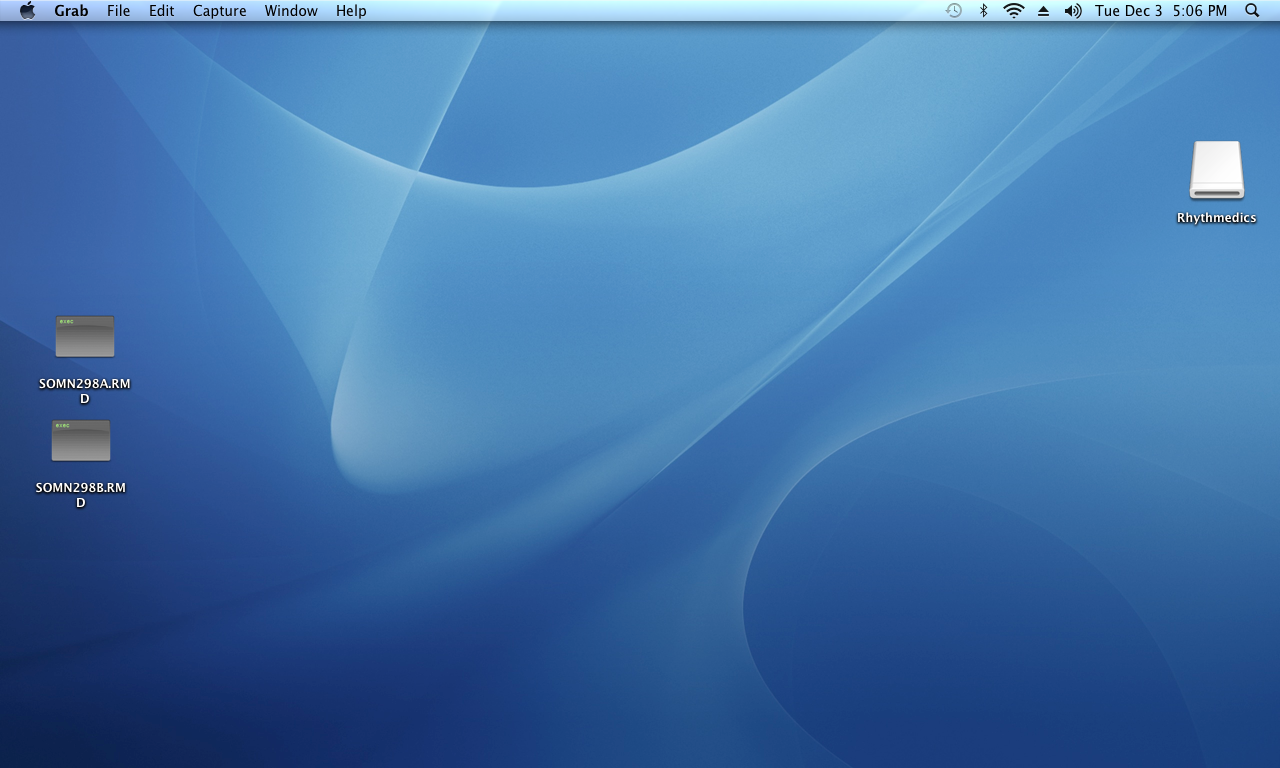
- Open the Update folder in the Download window to view the two update files as shown in the window below. The last letter of the filename is either A or B for update part A or B.
- ‘Drag-and-drop’ update file part A onto the Rhythmedics drive to apply the first half of the update. (30CS999A.RMD in this example)
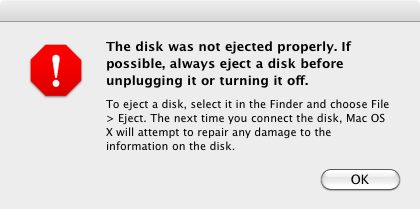
- If the part A is successfully applied the Rhythmedics instrument will disconnect from the Mac, causing a warning message as shown below. This is a normal sequence and does not indicate a problem
- If the part A is unsuccessful the instrument will begin flashing red on and off. Go to Step 14 to clear this condition.
- After the successful completion of the Part A update your instrument will begin its normal start-up sequence. Press and hold the START or SETUP dome switch until the SLED again begins to flash Green on and off, then release the dome switch to continue the update process for Part B
- Open the Rhythmedics folder on the Mac’s desktop as before and ‘drag-and-drop’ update file part B onto the Rhythmedics drive to apply the last half of the update (30CS999B.RMD in this example)
- If the part B is successfully applied the Rhythmedics instrument will disconnect from the Mac, causing a warning message as shown above. This is a normal sequence and does not indicate a problem and will not harm the instrument or the Mac
- If the part B is unsuccessful the instrument will begin flashing red on and off. Go to Step 14 to clear this condition.
- After the successful completion of the Part B update your instrument will begin its normal start-up sequence again. Press and hold the START or SETUP dome switch until the SLED again begins to flash Green on and off, then release the dome switch to verify the update
- Open the Rhythmedics Flash-drive folder and open the “NUTESLA.HTM” file to verify the new firmware version is displayed as shown below
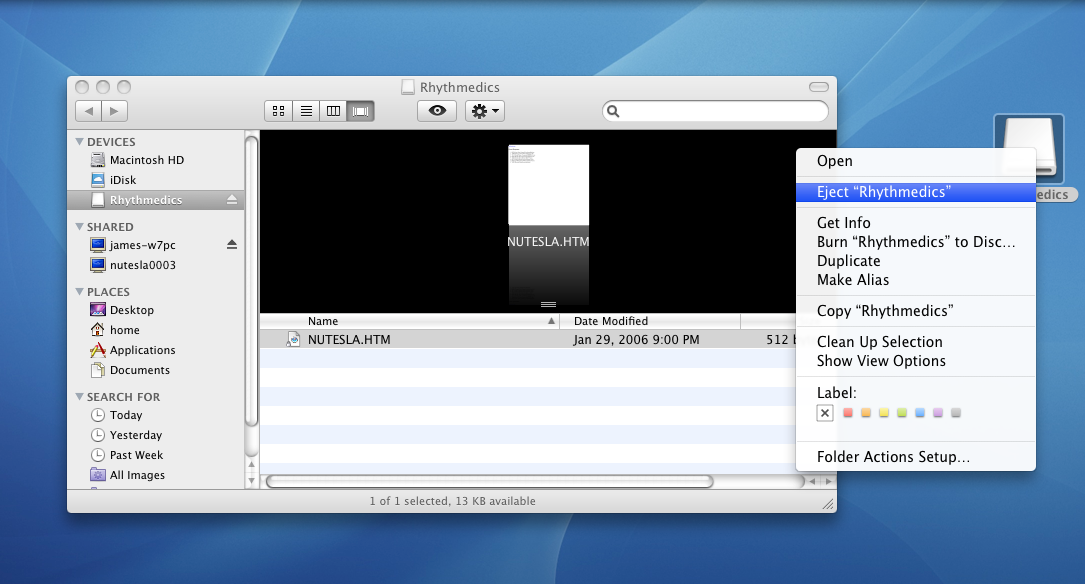
- Your NuTesla Rhythmedics Instrument is now updated and ready to use once disconnected from the USB port. Click on the Rhythmedics drive on the Mac’s desktop and select “Eject”.
- Once the SLED stops flashing Green the instrument can be disconnected from the Mac without receiving an ejection warning.
- If an error occurs during the update process the SLED will flash Red on and off. Your instrument will still operate normally if an error occurs, but will not be updated. In order to correct this condition, you need to move the update file to Trash and then empty the Trash folder.
- After emptying the Trash folder return to Step 8 or 10 re-attempt to apply the failing Part A or B.
- If the second attempt fails notify NuTesla Support (support@nutesla.com) via email